How to Make a Luxury Spa & Scent Gift Basket
DIY Luxury Spa Gift Basket: How to Build an Aesthetic Self-Care Box
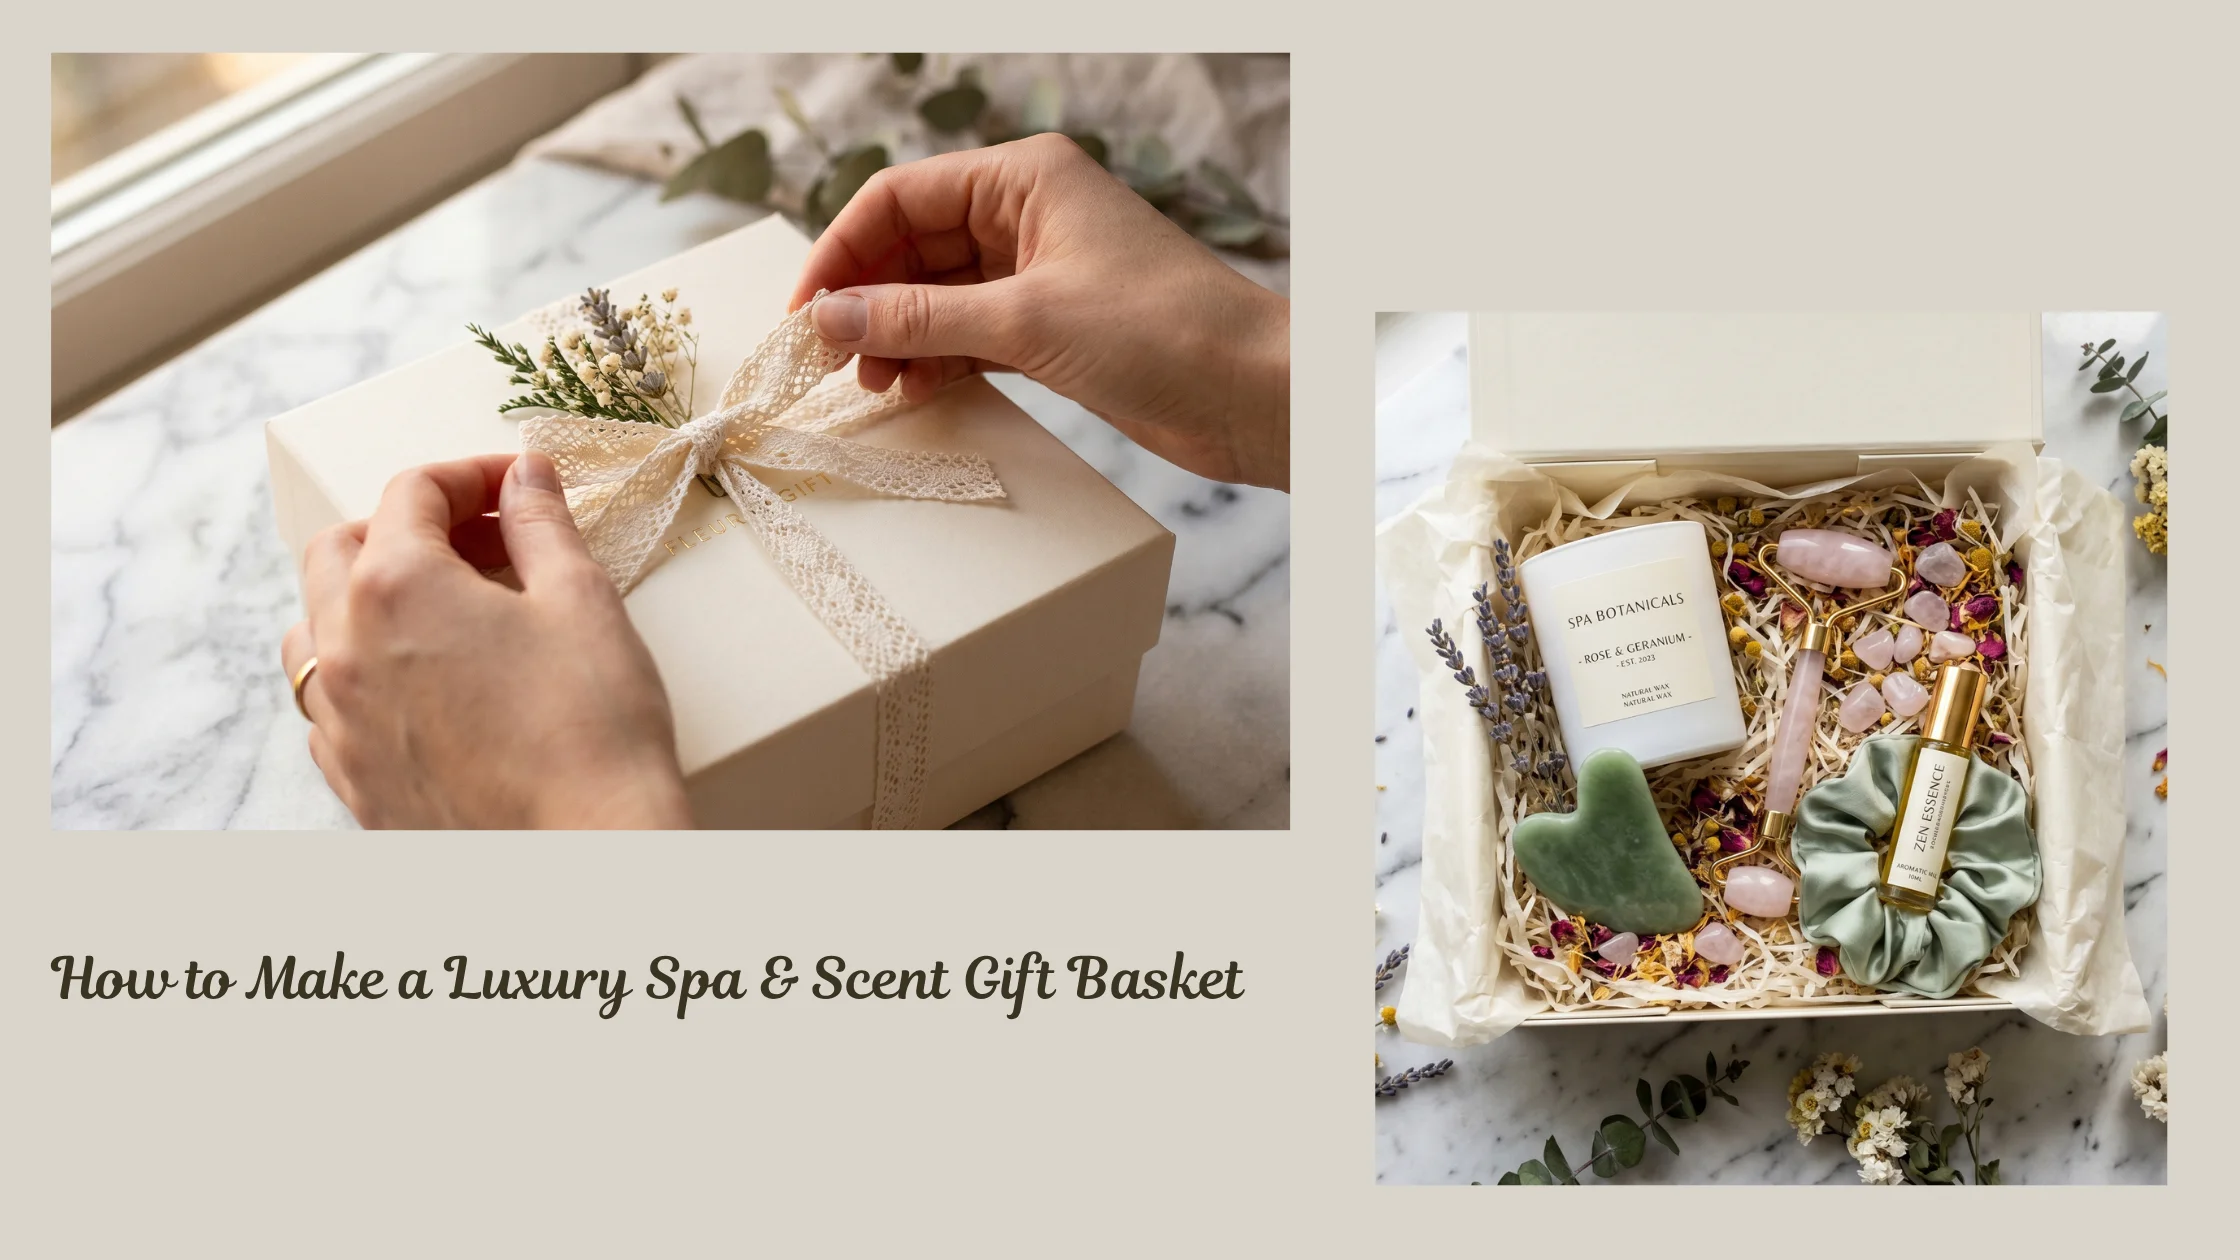
DIY Guide · Luxury Gift Basket · Summer 2026
Jade roller, botanical candle, gua sha, silk scrunchie, scent oil — all in one beautiful box. Here’s exactly how to put it together.
🎀🪨 Jade Roller Gift Set 🕯️ Botanical Candle Box ✨ Scent Stacking Gift 🎀 Luxury Self-Care Edit
Why this gift basket hits different
You’re not here for a random gift bag. You want the one that looks curated, feels luxurious, and makes someone feel like they were really thought of. This is that gift basket.
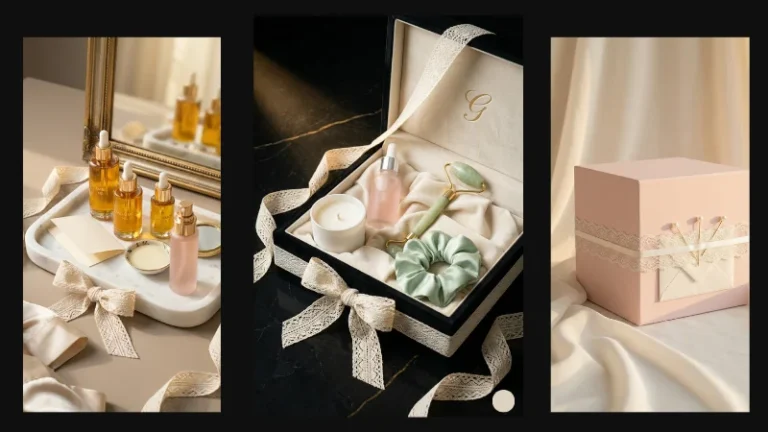
It combines three of the most giftable categories right now — skincare ritual tools, scent, and self-care candles — in one cream box that looks like it came from a high-end boutique. The jade roller and gua sha do the heavy lifting visually. The candle and perfume oil add the scent dimension. The dried flowers and crystals scattered around it are what make people stop and say wait, did you make this?
Yes. And they’ll think you paid twice what you actually did.
Best Occasions to Give It
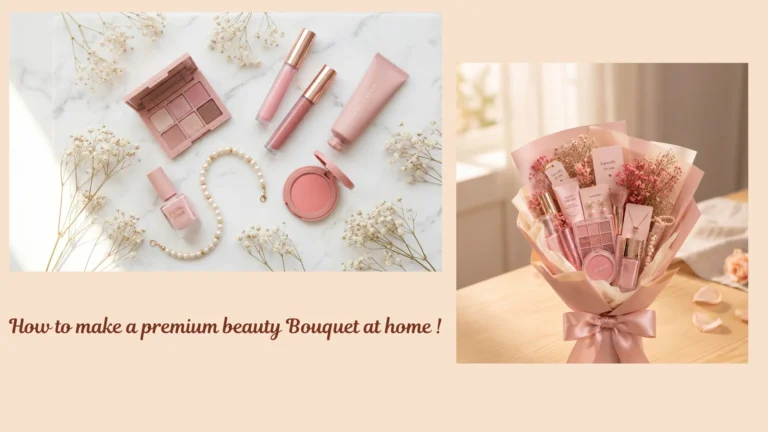
Best gifted to women 16–50 who love skincare, wellness, or slow living aesthetics. If she has a shelf that looks intentional, she’ll love this.The same group for whom we curated the beauty bouquet but focused more on care routine .
- 💐 Mother’s Day
- 💝 Valentine’s Day
- 🎂 Birthday
- 🌸 Bridal Shower
- 💍 Bridesmaid Gift
- 🎓 Graduation
- 🌙 Eid Gift
- 🤍 Just Because
- 🛁 Self-Care Sunday Box
Quick overview
Aesthetic Cream · Sage · Rose Gold
Skill Level Complete Beginner
Time Needed 60–75 min
Budget Range $45 – $120
Style Luxury Spa Ritual
Trend Scent Stacking
Everything inside the basket
Every item serves a purpose — some are visual anchors, some are the “scent layer,” some are the ritual tools. Think of it like building an outfit, not just filling a box.
Total estimated cost: $45–$120 depending on product brands. You can go affordable or premium — the layout does the luxury work for you either way.
|
Item with price |
Role |
Color to Choose |
|
Rose quartz or jade facial roller– $10–$25 |
Anchor — main visual centerpiece |
Rose pink or mint green |
|
Jade gua sha stone– $8–$20 |
Anchor — pairs with the roller |
Green jade or rose quartz |
|
Silk or satin scrunchie – $4–$10 |
Filler — adds color + softness |
Sage green or cream |
|
Botanical soy candle– $12–$30 |
Scent — scent anchor, visual weight |
White jar, minimal label |
|
Roller perfume or facial oil– $8–$20 |
Scent — scent stacking second layer |
Gold or amber glass bottle |
|
Dried florals (lavender, roses, chamomile)-$3–$7 |
Filler — scattered around the box |
Muted purples, soft pinks |
|
Small crystals or rose quartz tumbles-$3–$8 |
Filler — tucked in corners + gaps |
Clear, pink, or green |
|
Rigid gift box with lid– $6–$15 |
The container — sets the whole look |
Cream, white, or warm ivory |
|
Cream or white tissue paper– $2–$4 |
Box liner — cushions and fills |
Cream or ivory |
|
Lace ribbon (~60–80 cm)- $2–$5 |
The bow on the lid — finishing touch |
Ivory or white lace |
|
Handwritten gift card (optional)– $1–$2 |
Personal touch inside or on top |
Cream card stock |
Quick Reference
|
Color palette |
Blush pink + cream + dusty rose |
|
Aesthetic style |
Korean soft aesthetic |
|
Skill level |
Beginner-friendly — no experience needed |
|
Time needed |
60–90 minutes |
|
Filler flowers |
Dried baby’s breath or preserved statice |
|
Best product shapes |
Tubes, bottles, flat palettes, round compacts |
How to build it — step by step
1
Choose and prep your box
~10 min · This sets the entire aesthetic
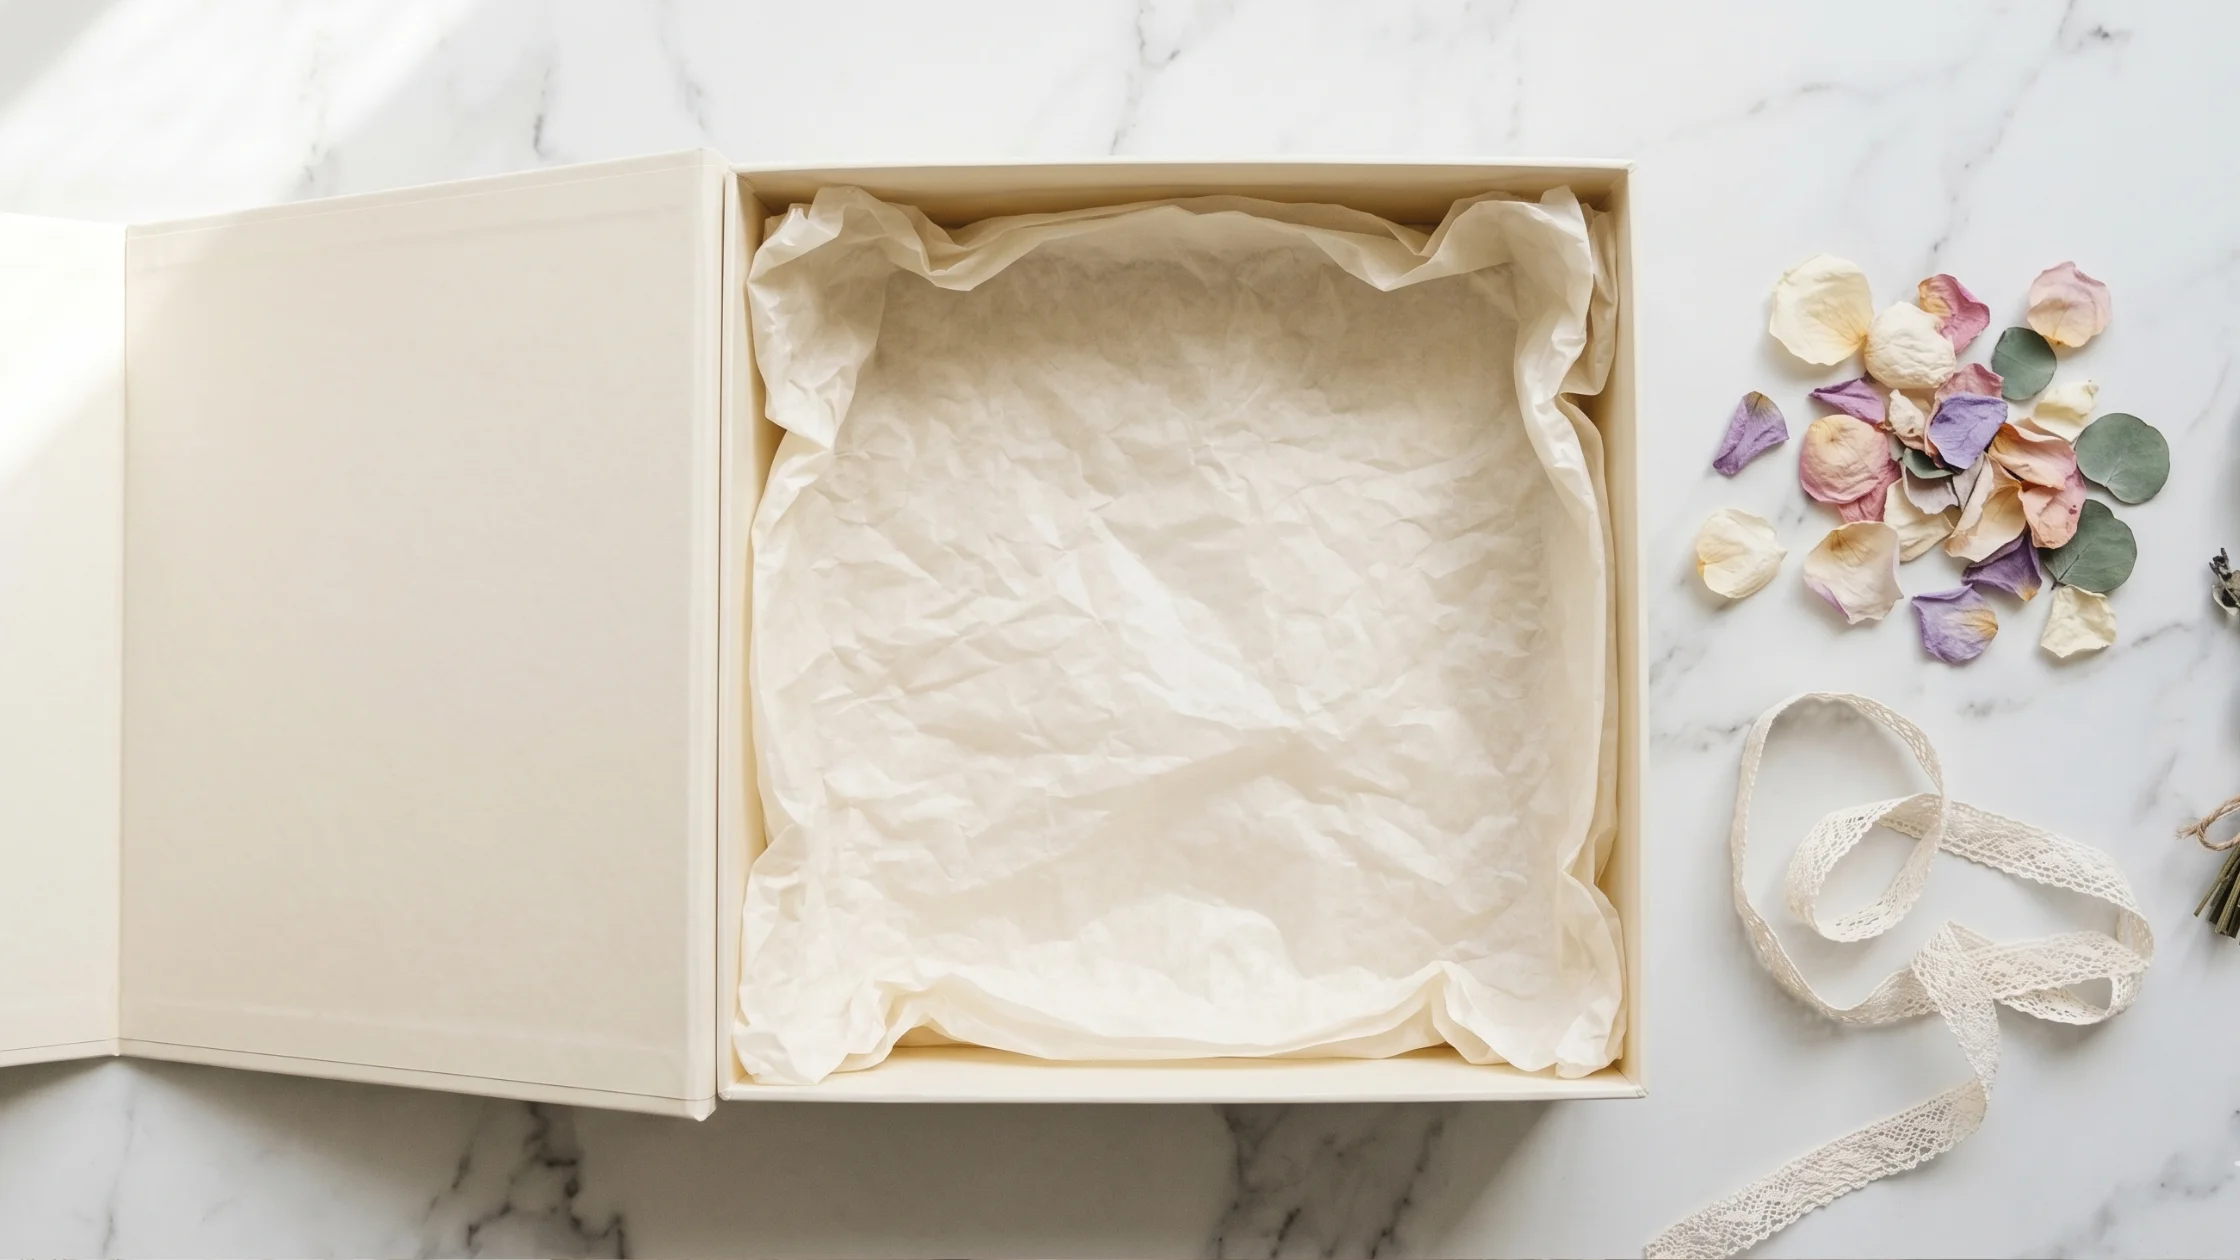
Your box is the first thing they’ll see. Get a rigid gift box with a lid — not a flimsy cardboard one that bends when you touch it. Cream, white, or warm ivory. Square or slightly rectangular. The one in the reference image is roughly 25×25 cm, deep enough to hold the roller upright.
Line the inside with 2–3 layers of cream tissue paper. Don’t try to fold it neatly — crumple it loosely so it creates a cushioned, textured base. That softness is what makes everything sit beautifully once you place items inside.
🎁 Box tip: Measure your roller diagonally before buying the box. The roller is usually your longest item — if it fits on a diagonal, everything else will fit too.
2
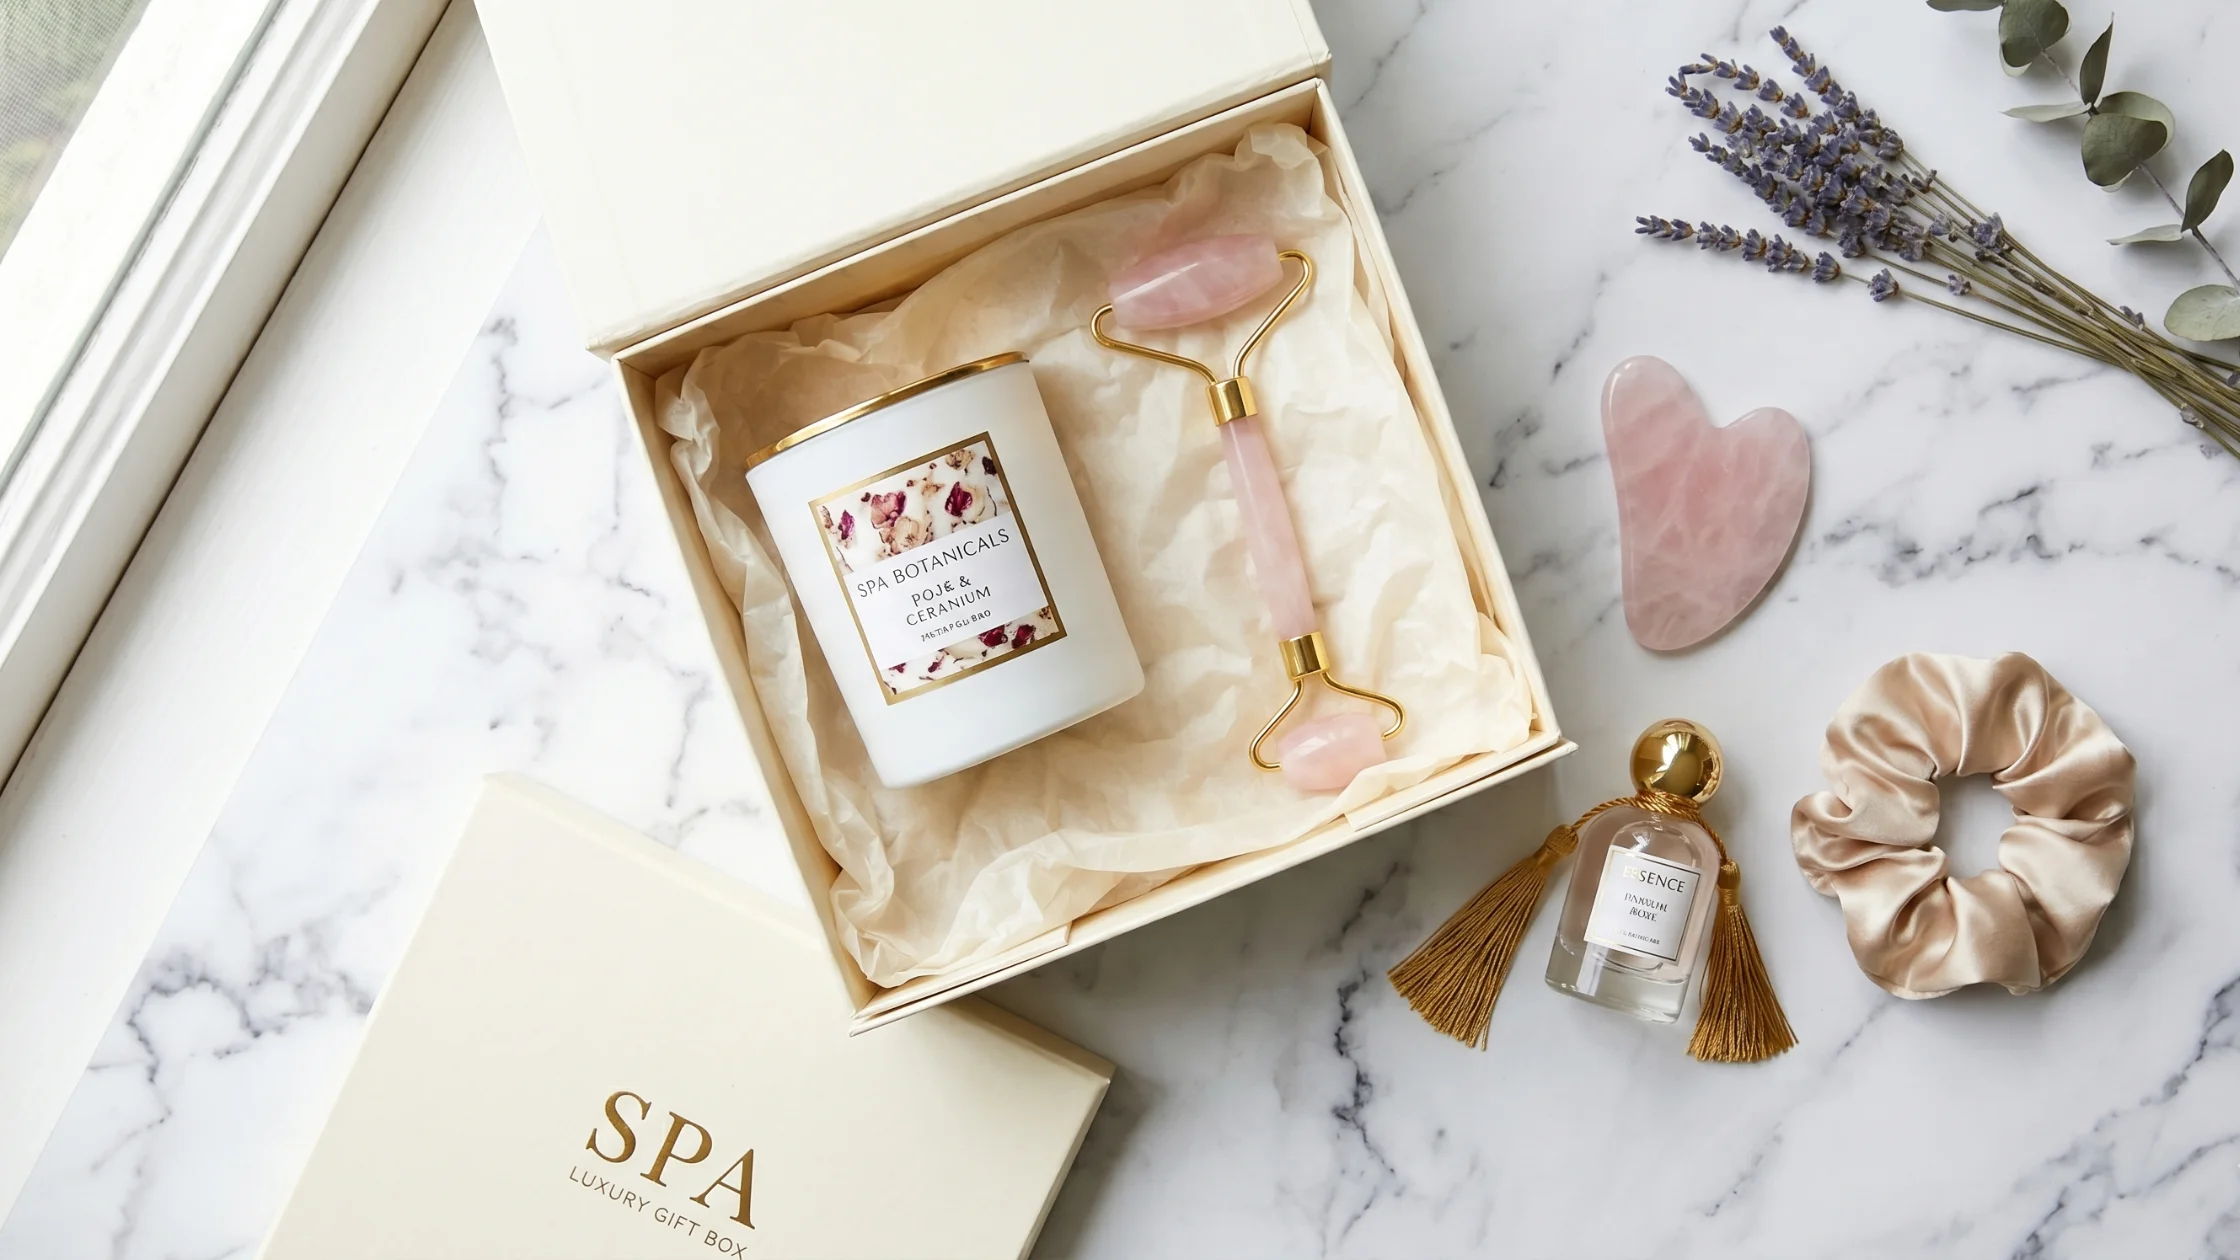
Place the anchor pieces first
~10 min · Don’t skip the layout step
Before anything goes in permanently, do a dry run. Place everything in the box without fixing anything. Look at it from above and ask: does this look intentional?
Your two anchor pieces are the candle and the jade roller. Place one near the back left and one near the back right. These are the tallest or most visually dominant items — they frame everything else.
📐 Layout rule: Tallest items go at the back. Shorter items at the front. This creates depth when someone looks into the box — like a display, not a jumble.
3
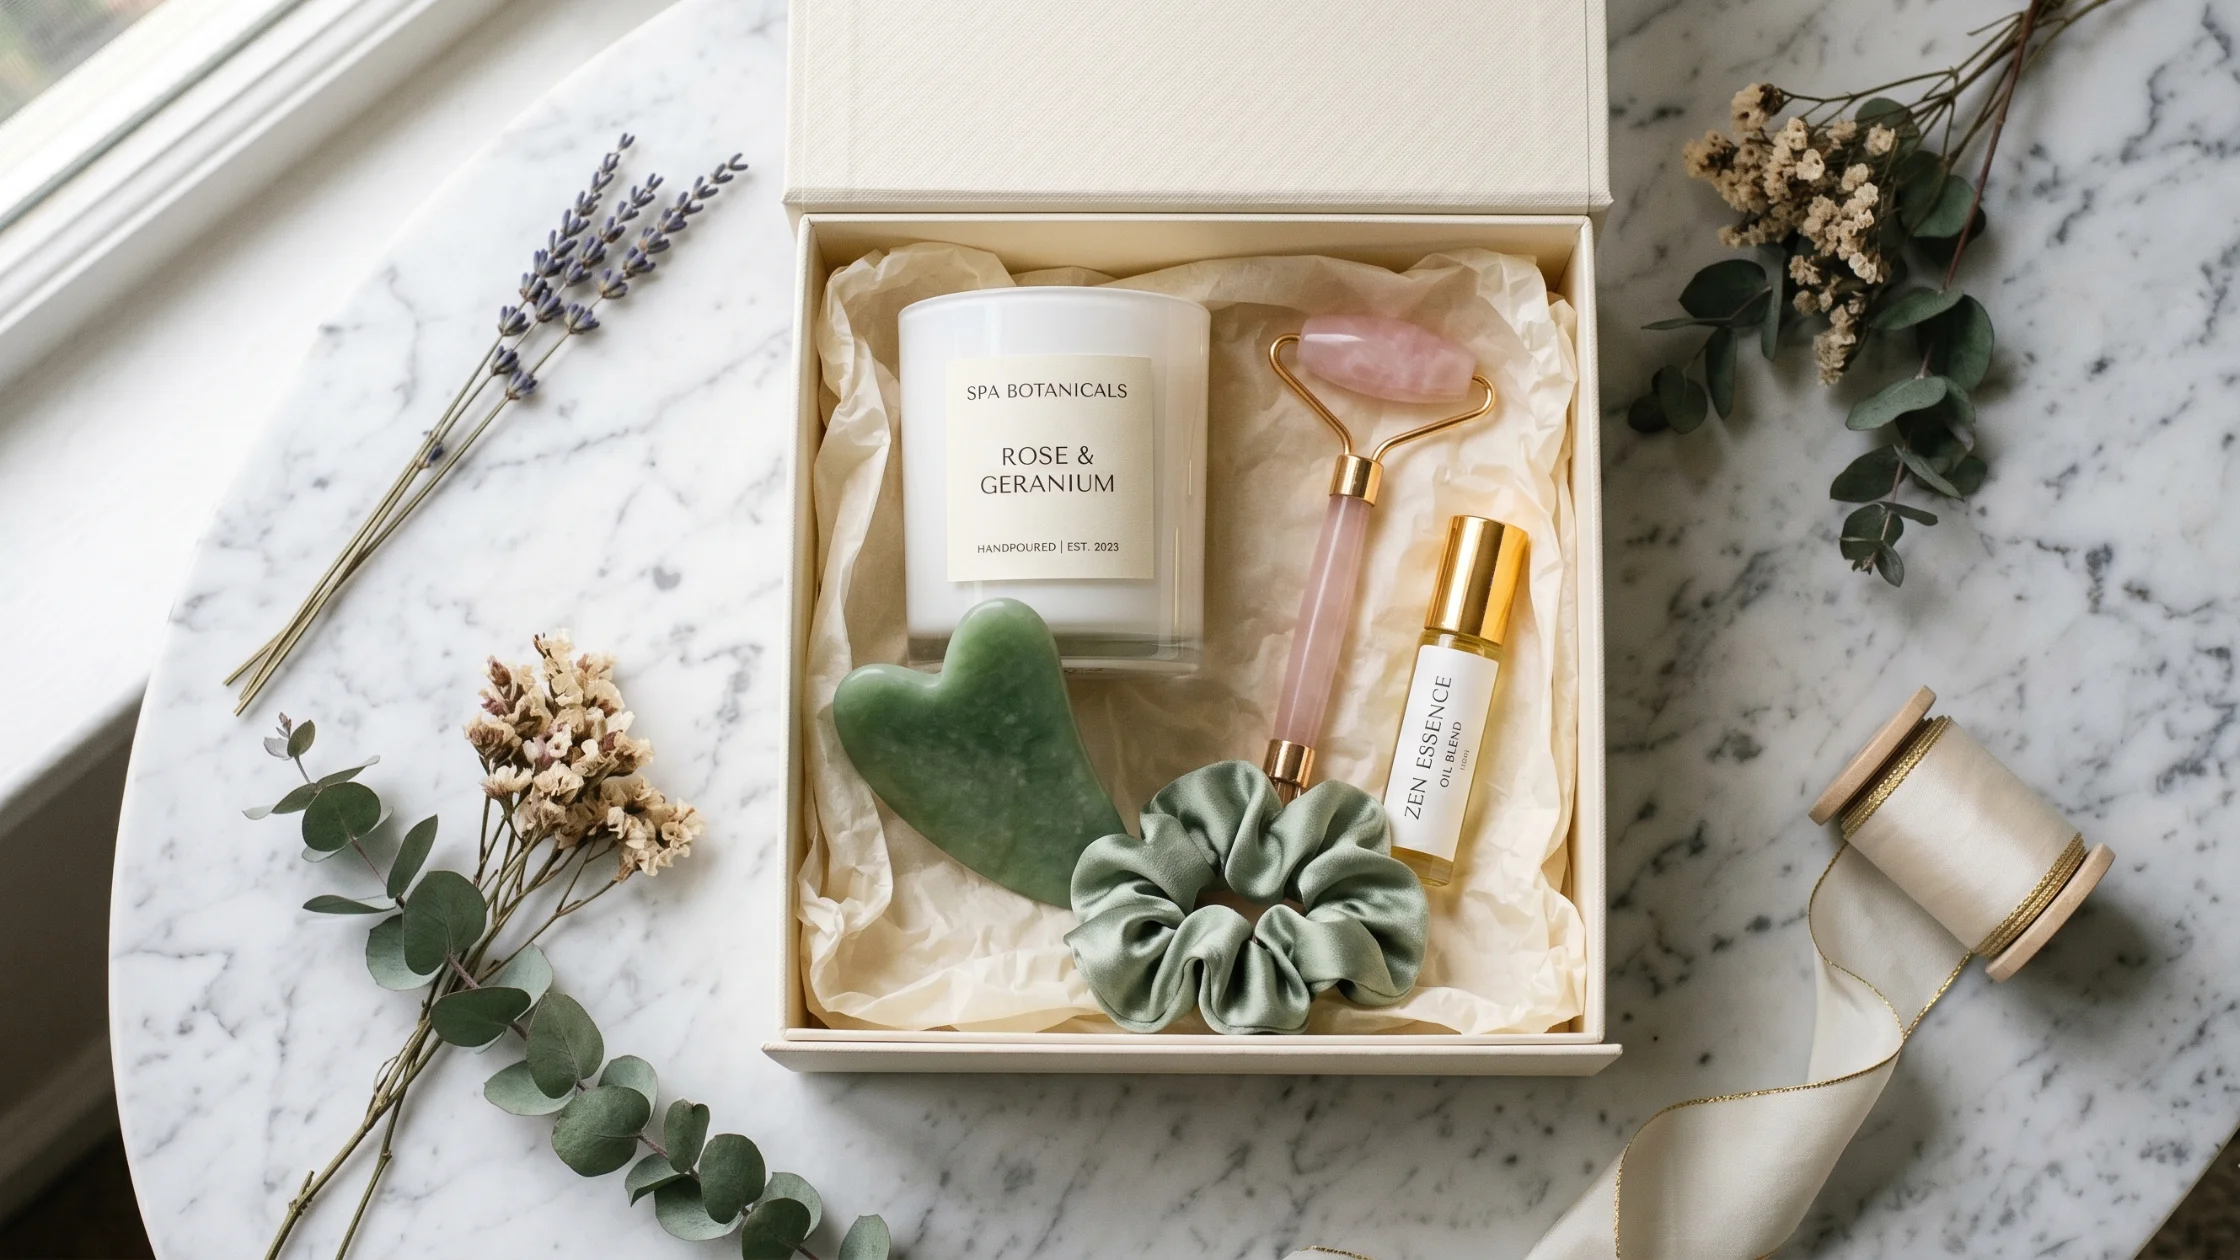
Layer in the smaller scent and ritual items
~15 min · Fill with intention
Now fill in the remaining space with your smaller pieces. Add them one at a time, checking the overall look after each one.
Gua sha — lean it against the side of the box or the candle so the stone face is visible.
Roller perfume / facial oil — stand it upright between the candle and the edge of the box. The gold bottle catches the light beautifully.
Silk scrunchie — fold it once and tuck it toward the front. The green color creates contrast against the cream tissue.
Push the tissue paper up around each item to hold it in place. It acts as a natural cradle — no glue needed.
4
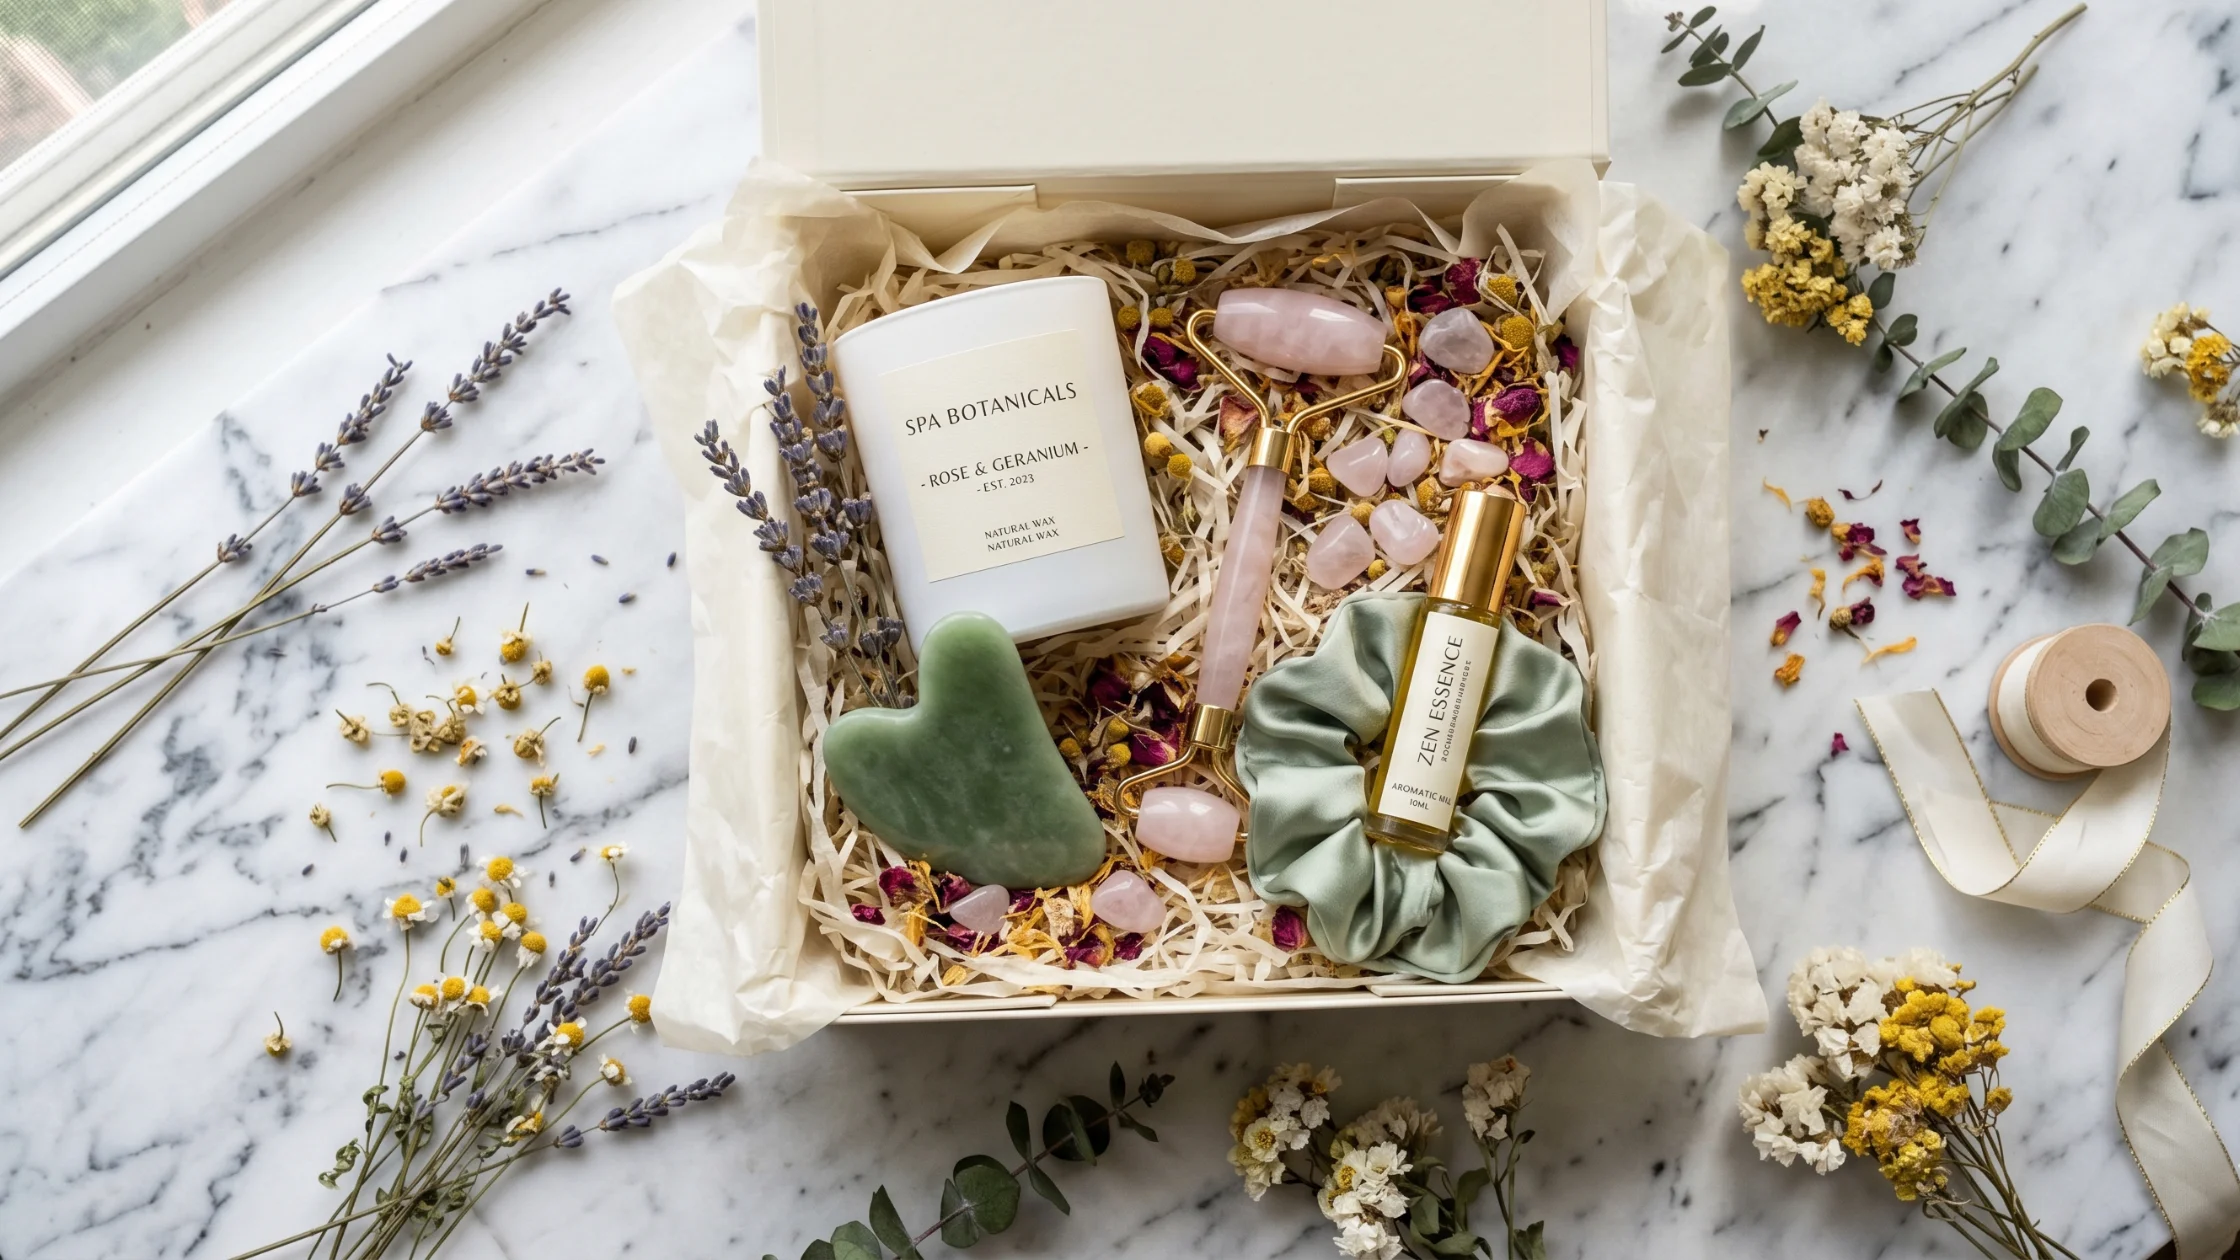
Scatter the botanicals and fill every gap
~15 min · The step that makes it look expensive
This is the detail that separates a nice gift box from a beautiful one. Take your dried florals and crystals and scatter them with intention — not randomly, but not too neatly either.
Drop small crystal tumbles into the corners and any open gaps.
Break dried lavender or chamomile into small sprigs. Tuck a few behind the candle, a few near the gua sha.
Scatter a handful of dried petals across the entire top of the box — they should land between and around the items, not covering them.
Step back and look. If any item looks hidden, lift it slightly with more tissue paper underneath.
🌿 Botanical tip: Less is more with the petals. A light scatter looks luxurious. A heavy pour looks messy. You want the products to still be the main thing the eye lands on.
5
Close the lid and tie the lace bow
~10 min · The final reveal moment
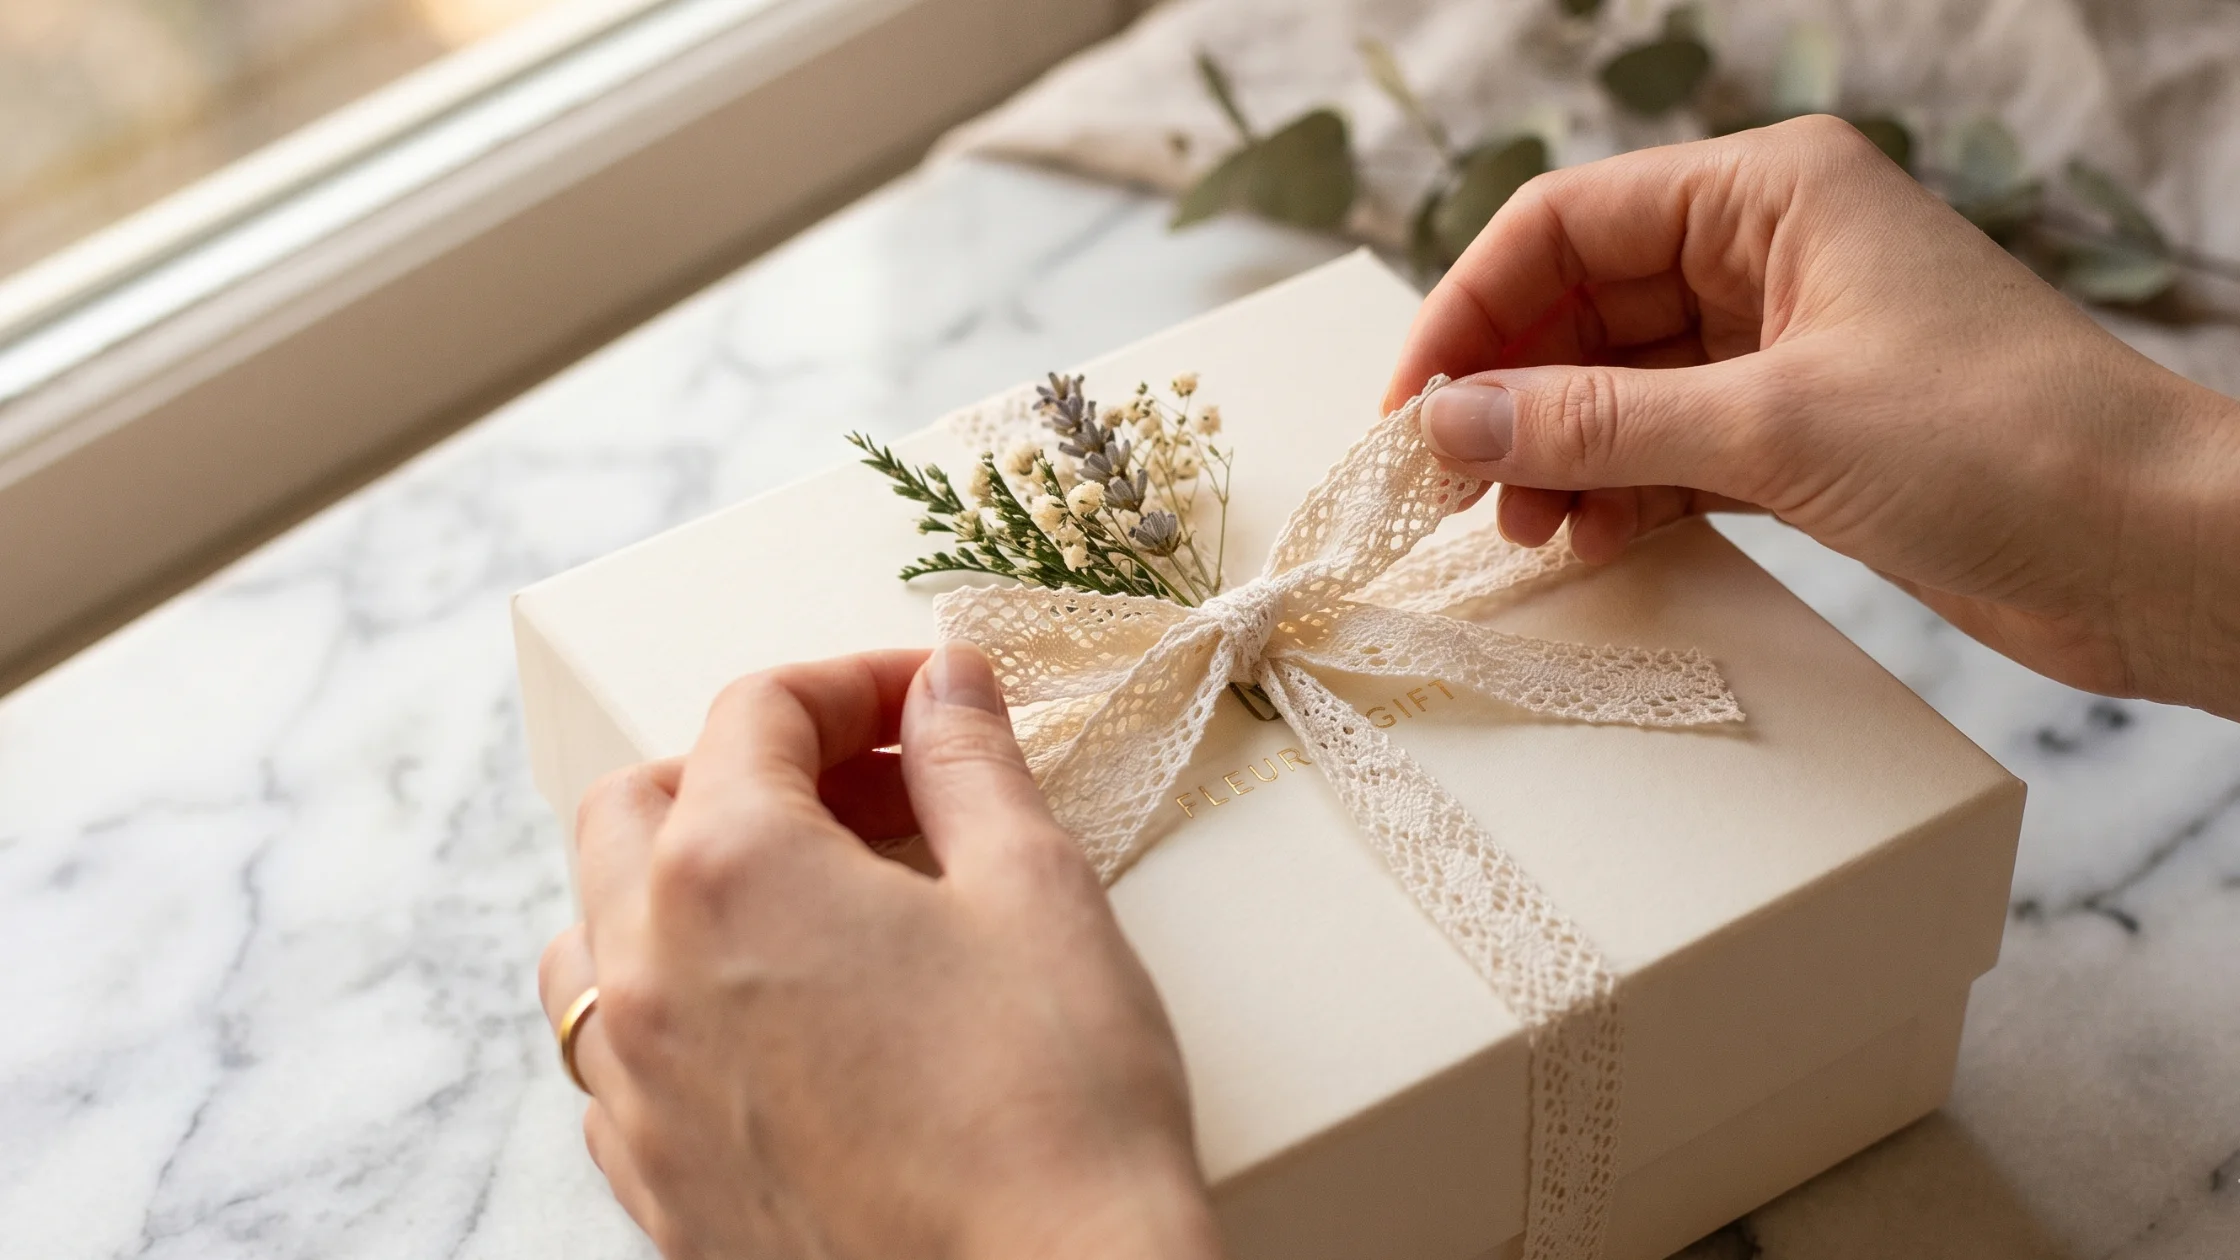
Cut 60–80 cm of lace ribbon. Loop it around the whole closed box — both the base and lid together — so the bow sits centered on the top of the lid.
Tie a loose double bow. Fluff the loops open with your fingers so they look full and soft, not tight and flat. Lace ribbon is naturally romantic — let it gather and bunch slightly at the loops. That imperfect softness is exactly the look.
Optional but beautiful: tuck a dried flower sprig or a small gift tag card underneath the ribbon on top before you tie the bow.
🎀 Ribbon rule: Tie the bow last — after the box is completely closed and finalized. Opening the box to adjust anything after the bow is tied always ruins it.
Tips that actually make a difference
🎨 Stick to 3 colors max
Cream, sage green, and rose gold. Every product and filler should fall into one of these three. Anything outside that palette pulls the eye and breaks the look.
🕯️ Buy a candle with a clean label
Loud or busy candle labels ruin the aesthetic. Go for a minimal white label or no label. Botanical soy candles usually have this — they’re also more giftable by scent.
📸 Photograph with the lid open
The whole magic is visible when the box is open. Shoot it near a window in natural light, from slightly above. No flash. This is your Pinterest-worthy content shot.
✨ Layer scents intentionally
The candle and the roller perfume should complement each other — not compete. Both floral, or both fresh and clean, or both woody. This is the scent stacking concept and it’s what makes the gift feel thought-through.
🛒 Shop your own home first
Crystal tumbles, dried flowers, silk ribbons — you may already have these. Check your bathroom or a decorative bowl before buying. The fillers cost the least but take the most time to source.
📦 Wrap the lid separately
Don’t glue the lid to the box. They should open and close freely — so the person can lift the lid themselves and experience the reveal. That unboxing moment is part of the gift.
Time Breakdown
|
Task |
Estimated Time |
|
Shopping and gathering all items |
20–30 min (or 1–2 days if ordering online) |
|
Prepping the box and tissue liner |
10 min |
|
Dry-run layout test before placing |
5 min |
|
Placing anchor items and layering fillers |
20–25 min |
|
Scattering botanicals and crystals |
10–15 min |
|
Ribbon bow and finishing touches |
10 min |
|
Total build time |
~60–75 minutes |
Your ritual. Their moment. 🕯️Come back to this guide whenever you need it. Same steps work for any season — swap the candle scent for winter, the florals for spring. The box stays the same. The love stays the same.@Booqart.com
Great content! Keep up the good work!